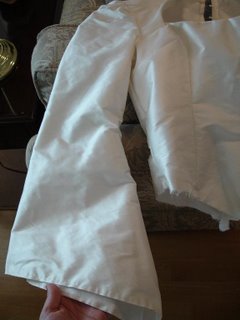
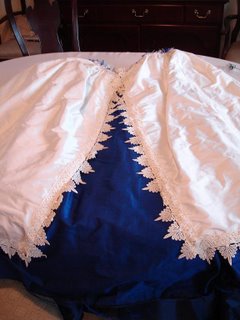
This was by far the most infuriating project ever. If you don't recall from the previous post, none of the pieces were fitting together nicely, and then I discovered I'd cut the neck hole too big. Mind you, everything else about the chemise fits. But the square neckline in my size is so big it fell half way down my chest. What gives?
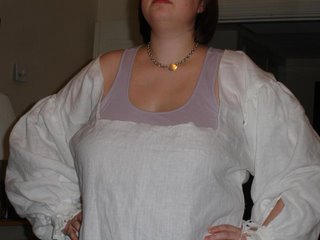 I made a mock-up of the neck hole, and starting with a size 4, worked my way up. The size I finally chose was a whole five sizes smaller than the chemise I made. I took off the too-big-neck facing and then cut the smaller-size neck facing. Here's the mock-up:
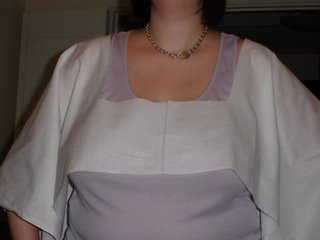 I ran two gathering stitches around the square neck and made it smaller to fit the facing. I had to repeat this process one more time (even though my mock-up was the right size, the pattern piece I cut was larger...I cut it from the same pattern size...again, WHAT GIVES??). Here's mock-up #2:
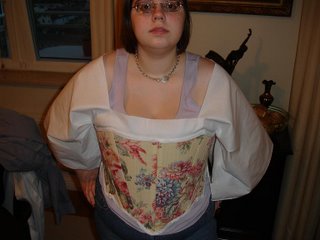 The finished product fits, but the gathers pretty much ruin that nice square neckline. Harrumph. All the seams are finished so I might decide to wear it inside out with the neck facing visible. Inside out the facing lies flat and makes the chemise look more like it was meant to be.
Such a horrible experience. I had been contemplating making a Renaissance corset from this pattern, but after the problems with the chemise there is no way I'm going to dive into that mess. I have most of the fabric to start the Tudor dress (that the chemise is meant to go with), but again...I'm having a fitting issue, and I'm not sure I can solve it without a fitting double.
