Well, I haven't been posting too much lately because there has been a surprising amount of productivity. I am almost done with my Halloween orders for 2006 - this year I've made 2 complete Jedi costumes, a knight, a cheetah, a belly dance, and a pea-in-the-pod is still in progress. If I get all that done, I have the stuff for a Padme costume so I can match Dave. THEN it's on to my marine ball dress - the fabric is en route.
Here are some final product pictures (I promise to chase down the kids on Halloween to get cute pictures of them IN the costumes):
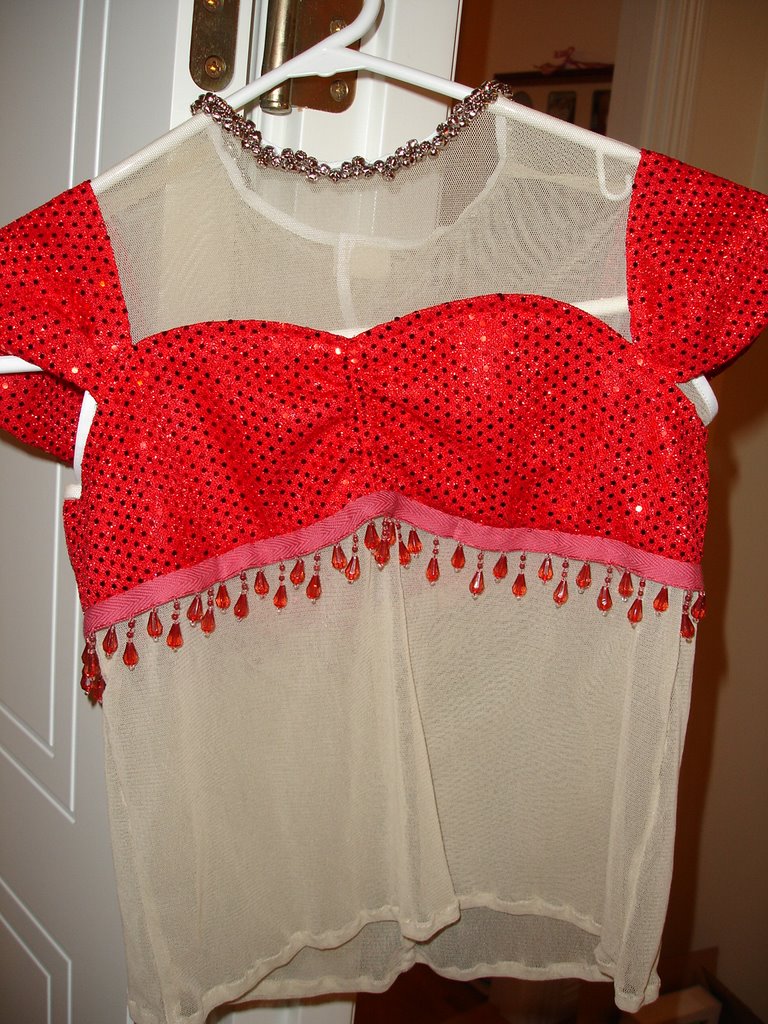
The belly dancer costume - I'm still working on the hat/veil. She also has a coin scarf to go with it. The close up shows the jingle bells I sewed into the neckline so the costume makes a bit more noise. I also love the beads around the bra top.

The top and the harem pants. I stuck on some little gemstones in the yoke of the pants. The mesh fabric on the top was a real bear to work with.

The knight costume - complete with silver stretch helmet! The costume is duck cotton, felt, and gold gimp for decoration. I really like the fusible interfacing that irons right on (that's how the lion was attached).
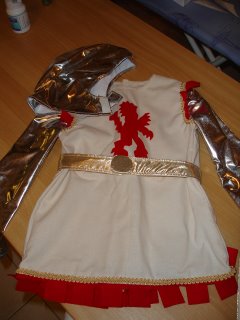
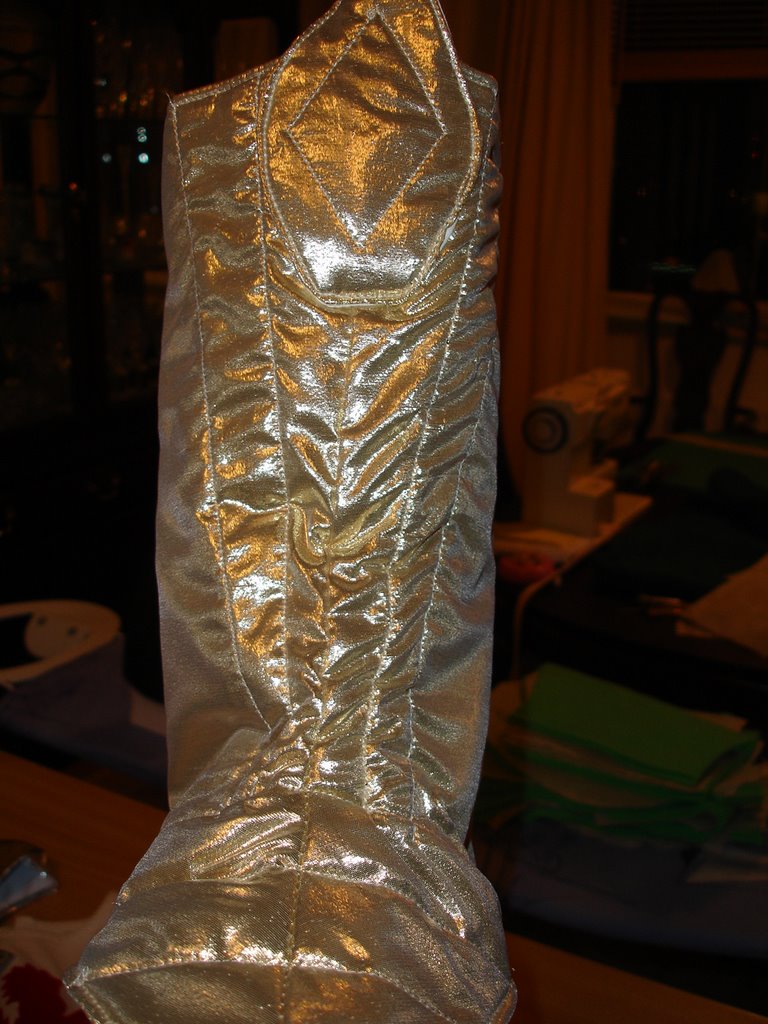
Here's a close-up of the "boots" - they're quilted gold lame and fit over sneakers.

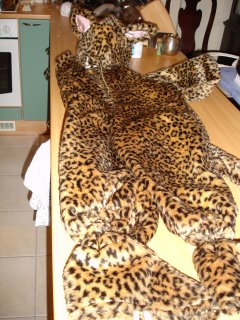
Here's the rather impressive cheetah costume - it comes with shoe covers, mittens, and a hat (along with the jumper). I didn't get a good shot of the tail...but there is one!
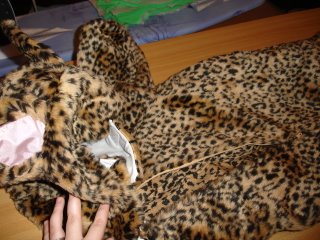
Different angle that shows off the fake fur. I thought the fake fur was going to be really horrible to work with. Other than making a bit of a mess when cutting, it wasn't any harder/easier to work with. It did get bulky at some seams, but you could just cut off the fur to make the fabric thinner.
 little Sophie dressed as a Pea in the Pod...her costume was flannel wool, but she's been bundled up again...so she's the pink pea-in-the-pod. She looks pretty comfortable, wouldn't you say?
 Nadia made a great belly dancer! She looks like she'll be able to grow into this costume over the next year as well.
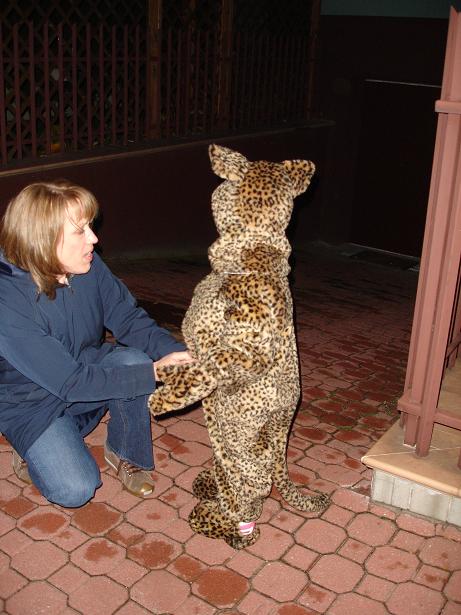 Lilly, my little cheetah, was not having a good night, so this is the best picture I could manage (you can't see, but she's actually sobbing here). I saw her at four different times during the evening, but she just wasn't a happy camper...Halloween was a bit overwhelming.
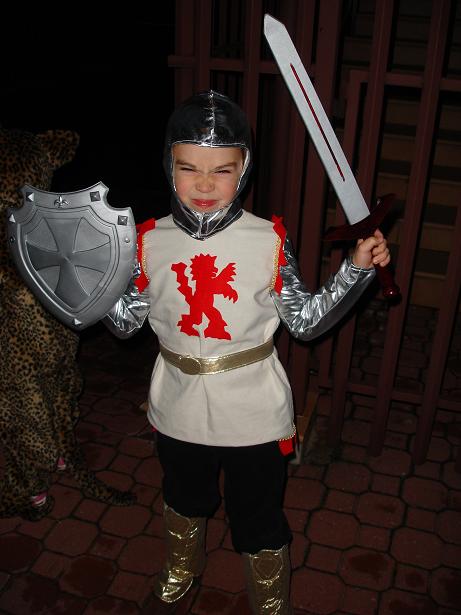 Lilly's older brother Adam had a fabulous time and really hammed it up for the camera. I really loved making this knight costume!
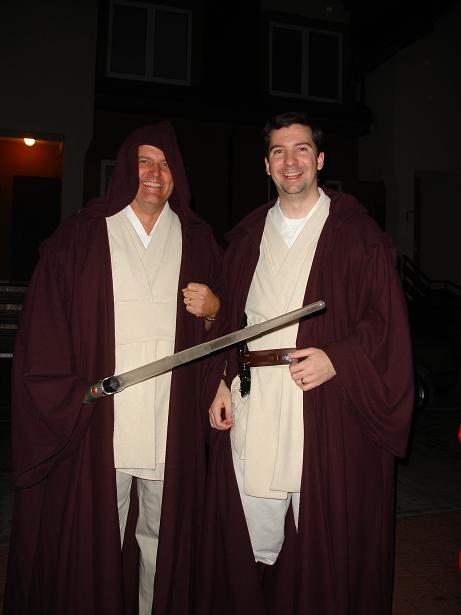 David and Dave, showing off their matching Jedi costumes. Dave needed a padawan braid to really make this pair costume go over the top, but oh well. There's always next year.


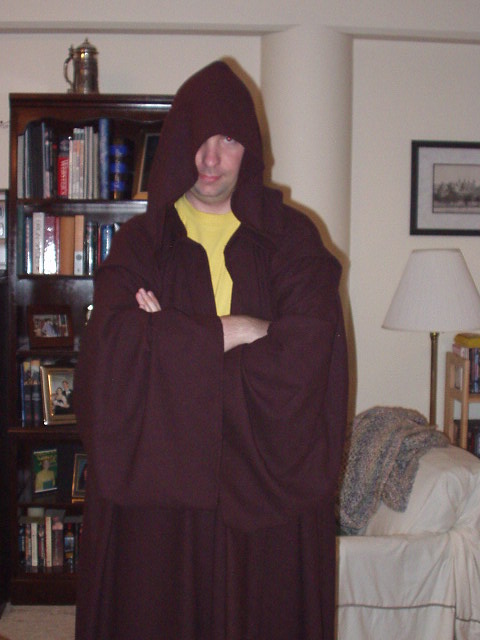
 As part of my Halloween business, I have received a commission to make a complete Jedi outfit. I had a snafu obtaining the silk I needed on eBay, and as a result I'm still waiting for the fabric to make the tunic. However, the cloak is done. It's Simplicity's
  The cloak is made of flannel wool. The pattern was very easy, and went together quickly. I especially like the shoulder pleats. I tried to mimic this on the last cloak I made, but it was much more successful on this particular pair.


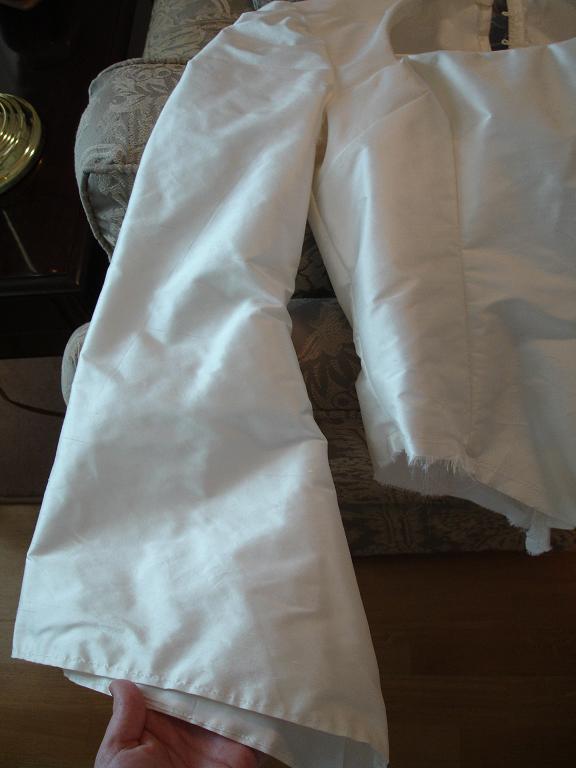


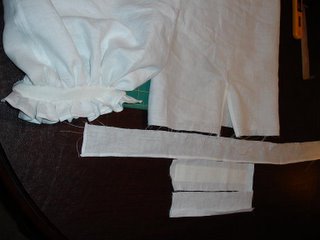 After FINALLY finishing the cuffs, I tried to insert the sleeves into the garment. The instructions said "match dots and then gather the sleeve to fit." So, I match the dots...and the dots lined up exactly...there was nothing to gather, because there was no extra fabric. What the **%@? AAARRGHH! I set it aside. I've had enough for today.

