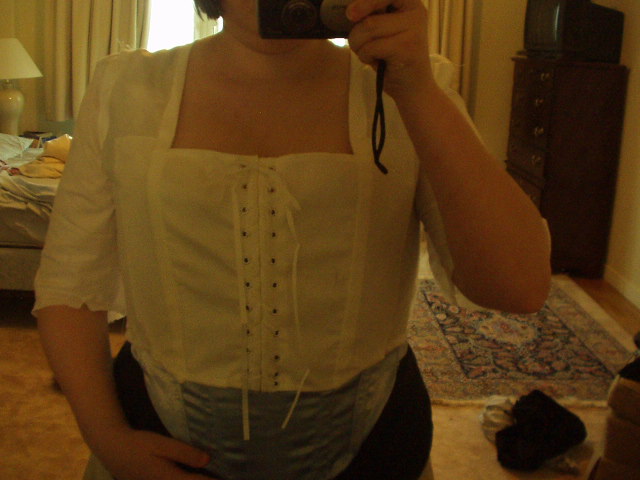
Thanks to the meeting of the European Council of Ministers, I haven't received mail in over a week. Having my 18th century gown fitted and ready to go, but not having my fabric, is driving me nuts!!!
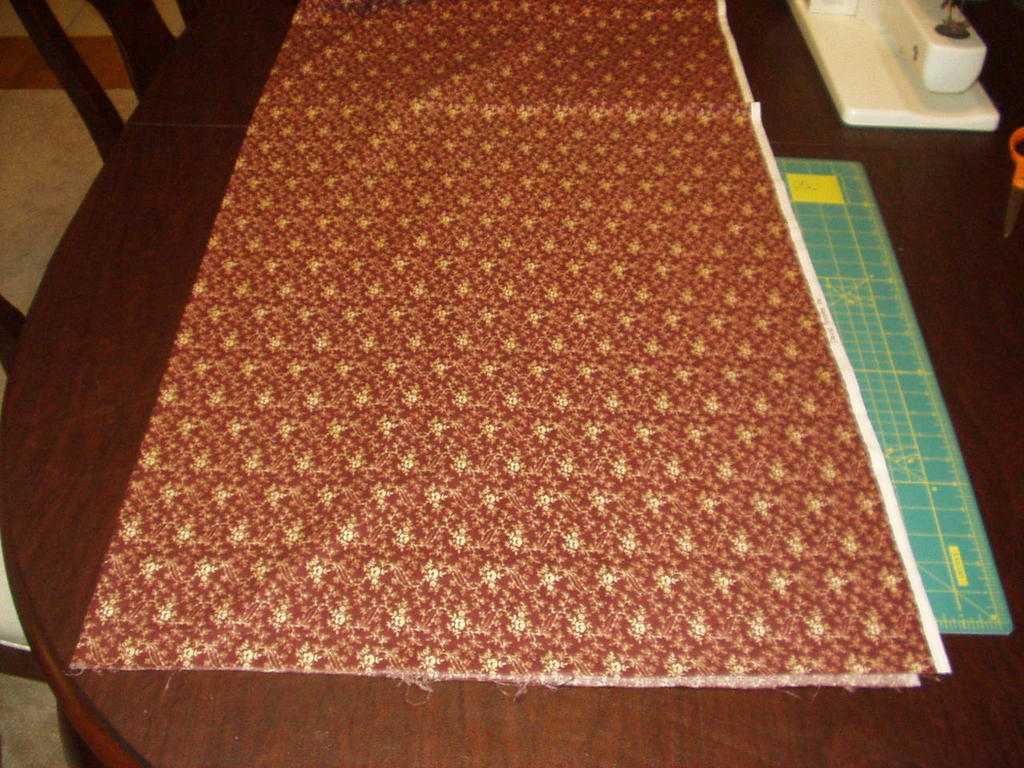
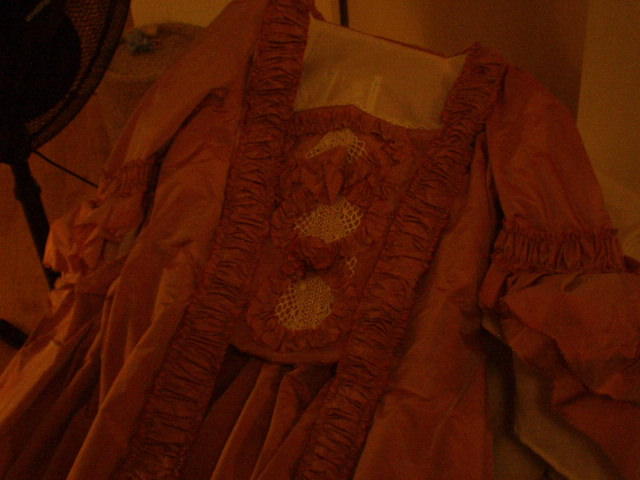
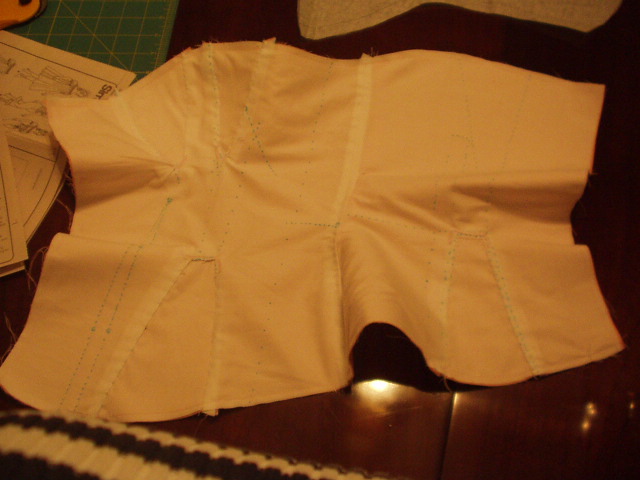
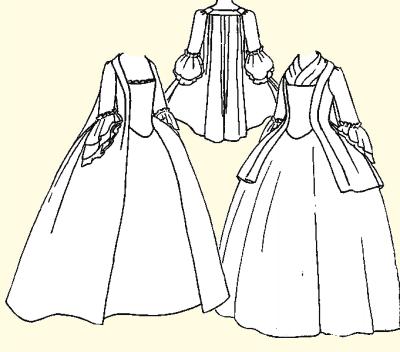
So....since I had the fabric for my civil war day gown lying around collecting dust, I decided to start on it today. Everything was going alone very well. You can see by the picture above that the muslin was fitting fairly well after just a nip and tuck here or there. But then, these little nasty surprises started cropping up, courtesy of the pattern!
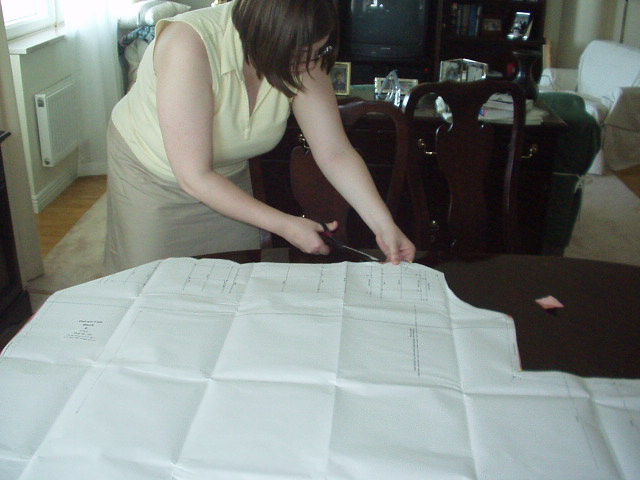
1. The pattern pieces overlap each other on the paper, meaning you can't just cut them out and use them!!! You actually have to go through and trace new peices for the darn thing!
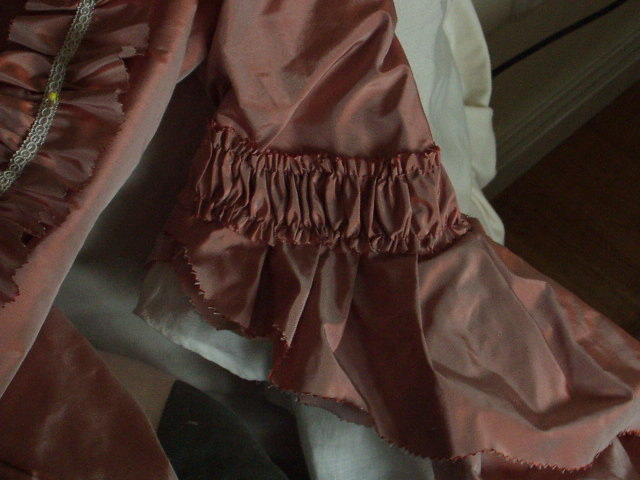
2. The sleeves are just awful! The pattern says 'ease' the sleeves into the armhole, but they should really say "drastically gather the sleeves." My first attempt at this created a horrible poof, and since 1850-1860 dresses arm holes are actually well off the shoulders, it was making me look line a line backer.
3. There are supposed to be CUFFS??? This is mentioned in passing, but I have no pattern peices, and no directions for sewing them. Are the cuffs supposed to be lined, unlined, make of two identical peices sewn together?? How are they sewn in? How should I know.
4. The instructions are pure evil. They arrived, complete with pretty colored illustrations, lulling me into a false sense of confidence. But when you read through them, you realize that they are general directions for ALL of her dresses, frequently offering multiple options for how to proceed on every step. Over 15 pages of very generalized directions that were written in random order with nothing specific about the dress/pattern I'm making (except for confusing illustrations of the finished product...showing cuffs when I have no pattern peice!!!).
...Needless to say this is not turning out to the be the therapeutical solution I thought it might be while I wait for my silk to arrive.
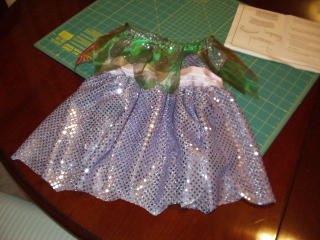
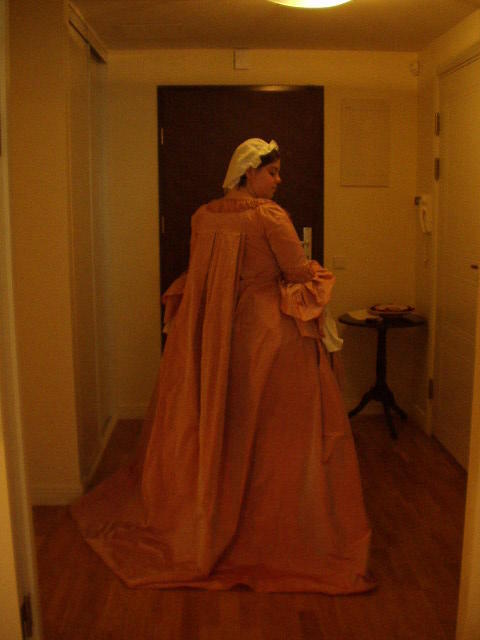
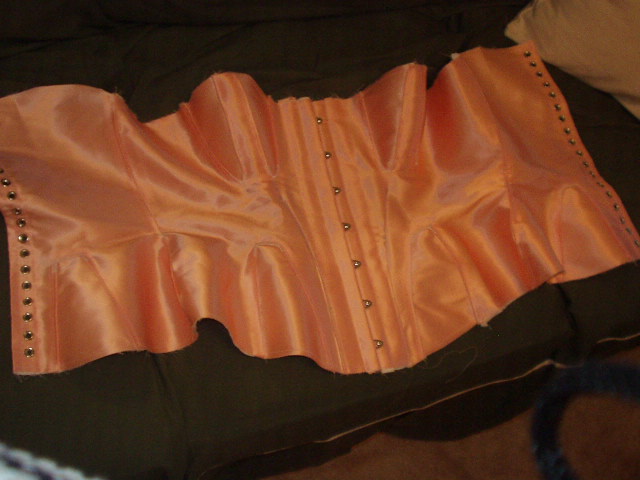
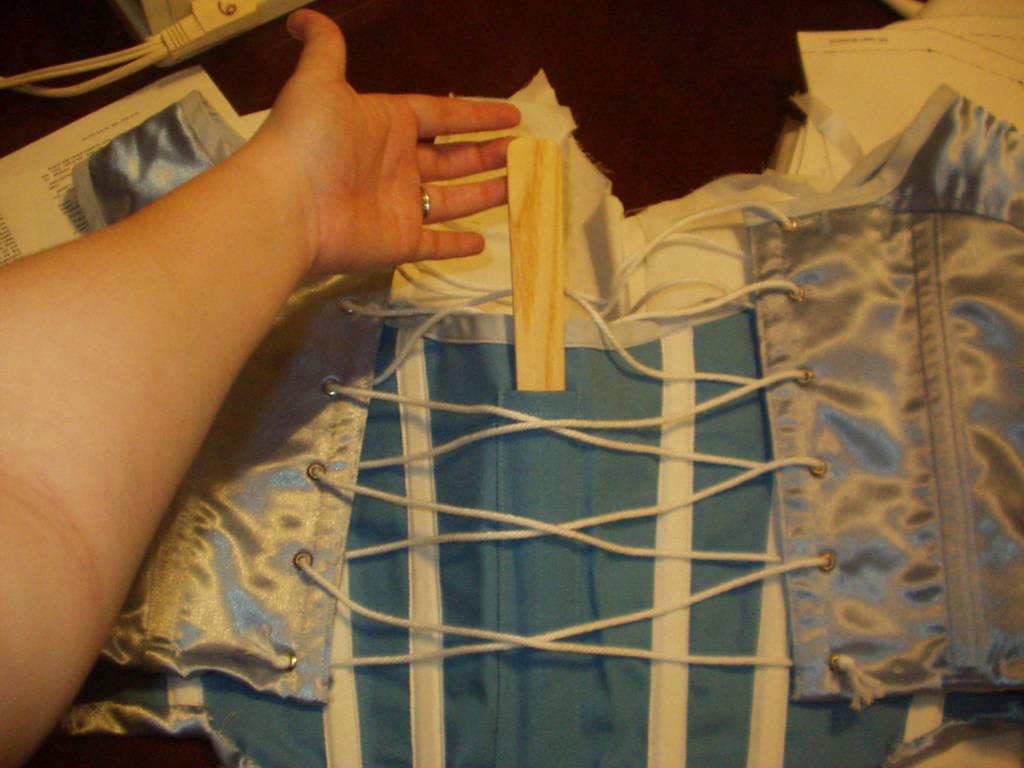
 Every time there's a long weekend, I just can't resist the urge to spend it sewing with my favorite costumed dramas on in the background. I made a lot of progress today. I whip stitched the pleats of the skirt into the waist band, and then added the hooks and eyes. Since I can't hem the gown by myself, I can't say the skirt is actually finished yet. It will still need to have the hem facing sewn in as well. Check out the litte knife pleats!
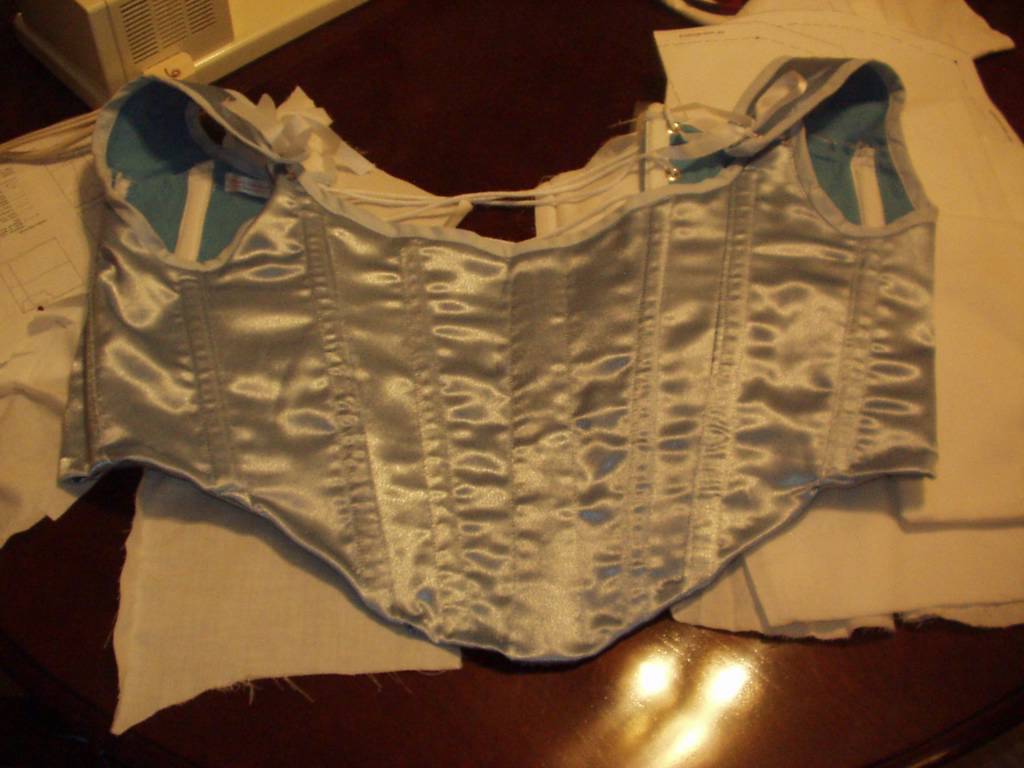
 Next, I moved on to assembling the bodice. I sewed the lining and gown fabric together (this is called flat lining), added the darts on each side, and sewed in some of the boning. It got a bit late, so I'll finish the boning and sleeves tomorrow. I hadn't realized that I'd run out of bias tape, so I'm stuck on finishing the edges of the gown. I think I'm impatient enough that I'll try and make my own bias tape tomorrow instead of waiting the two weeks it would take to order it.
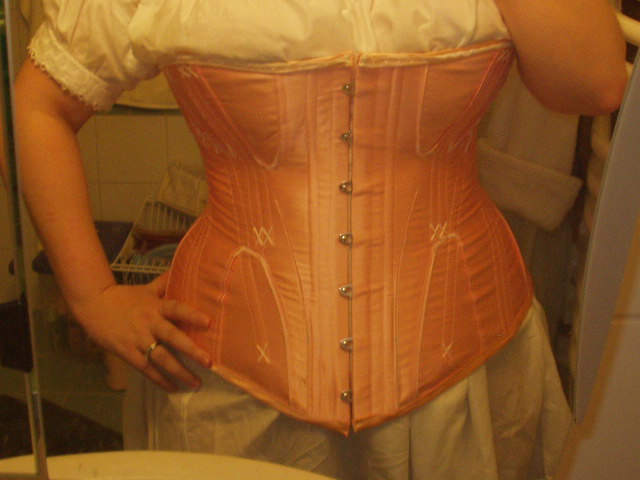
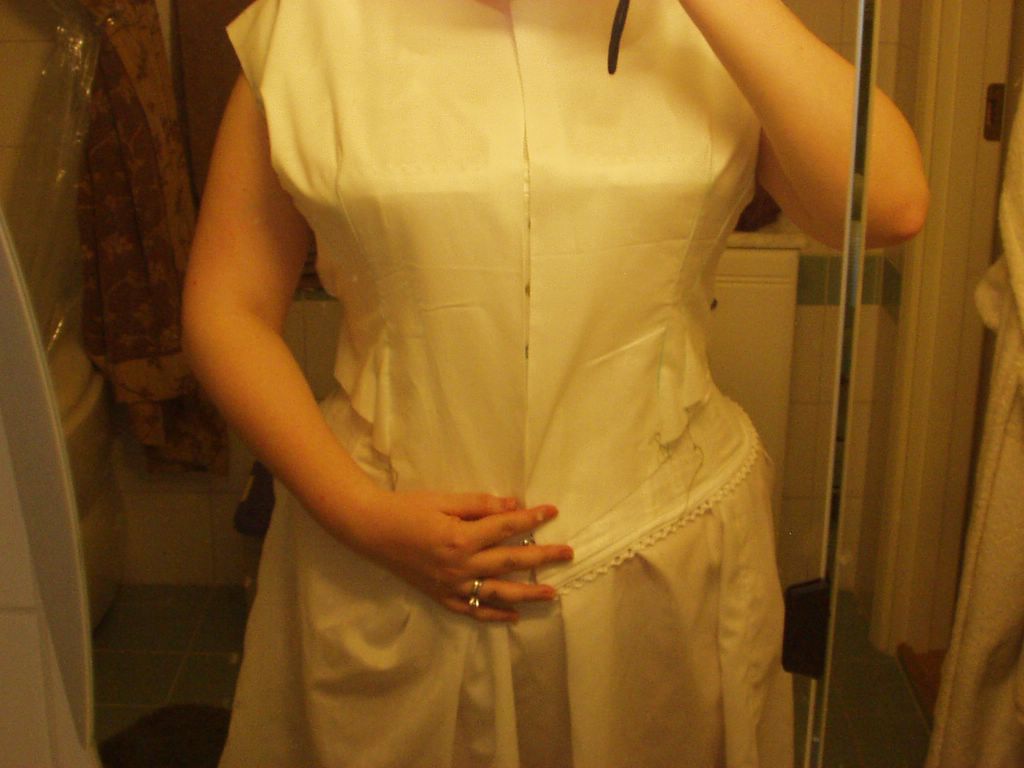
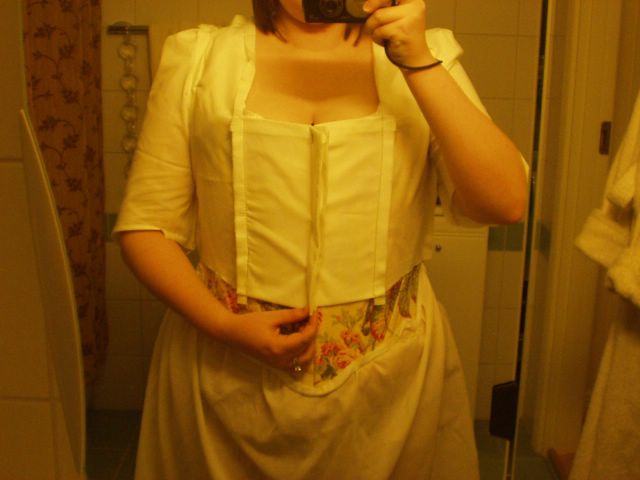
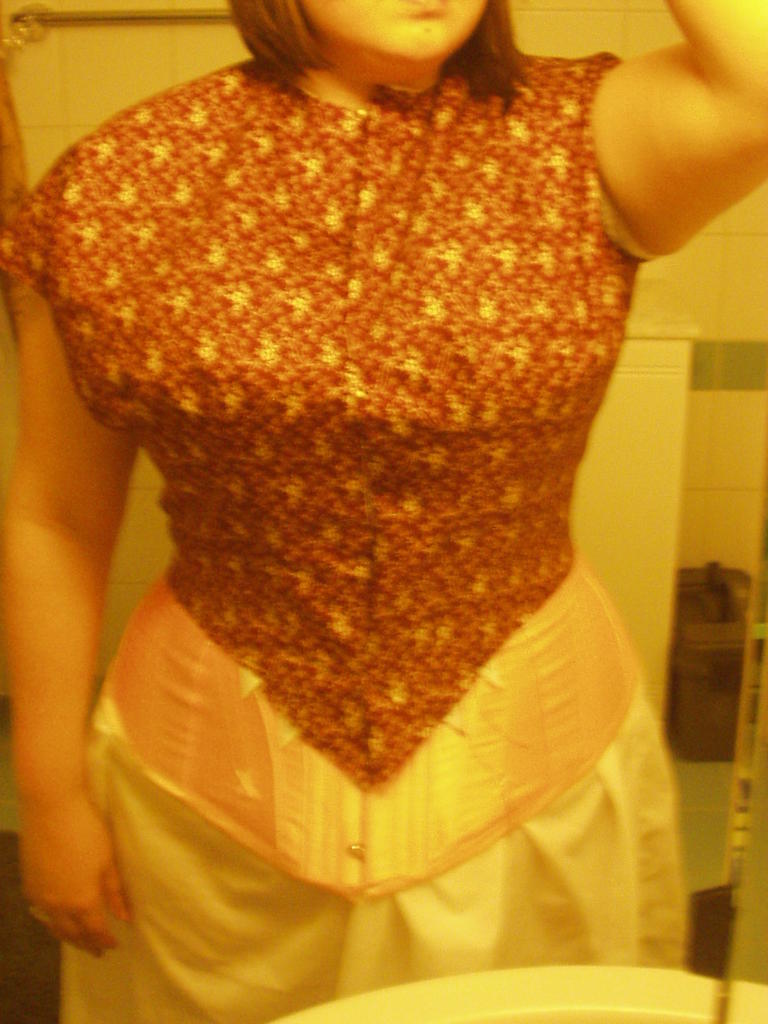 I'll say it again: I love this pattern. Look at how nice the fit is!


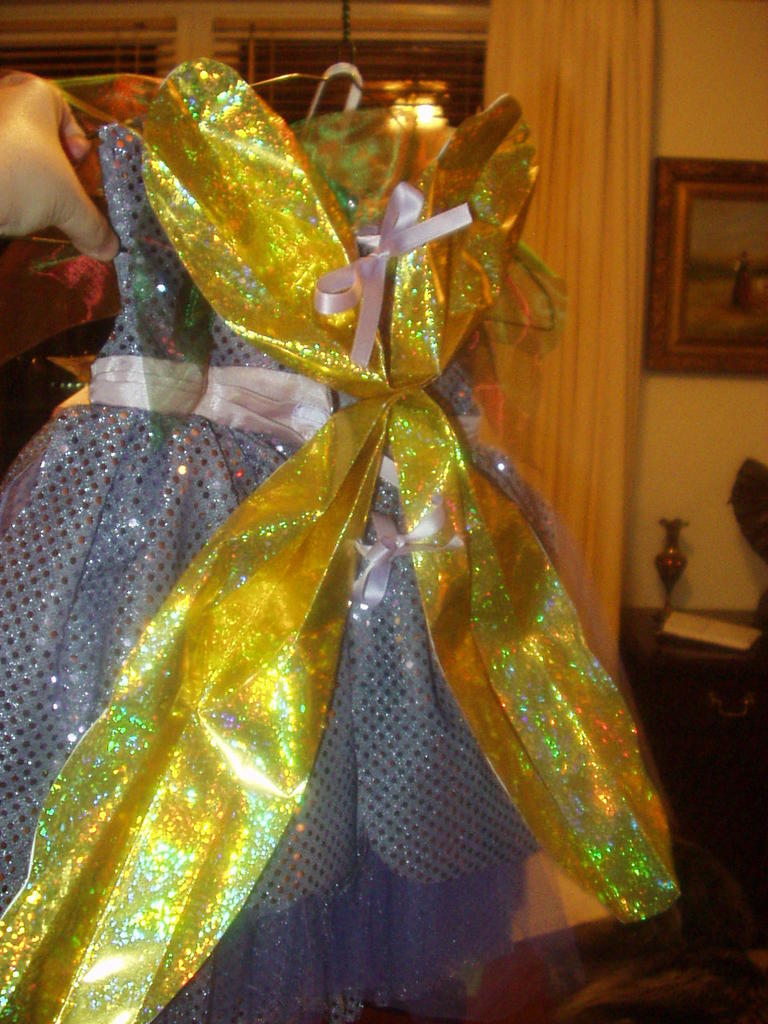
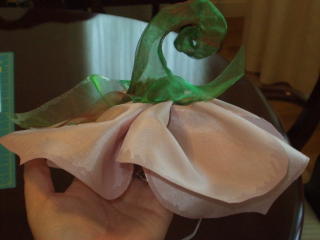
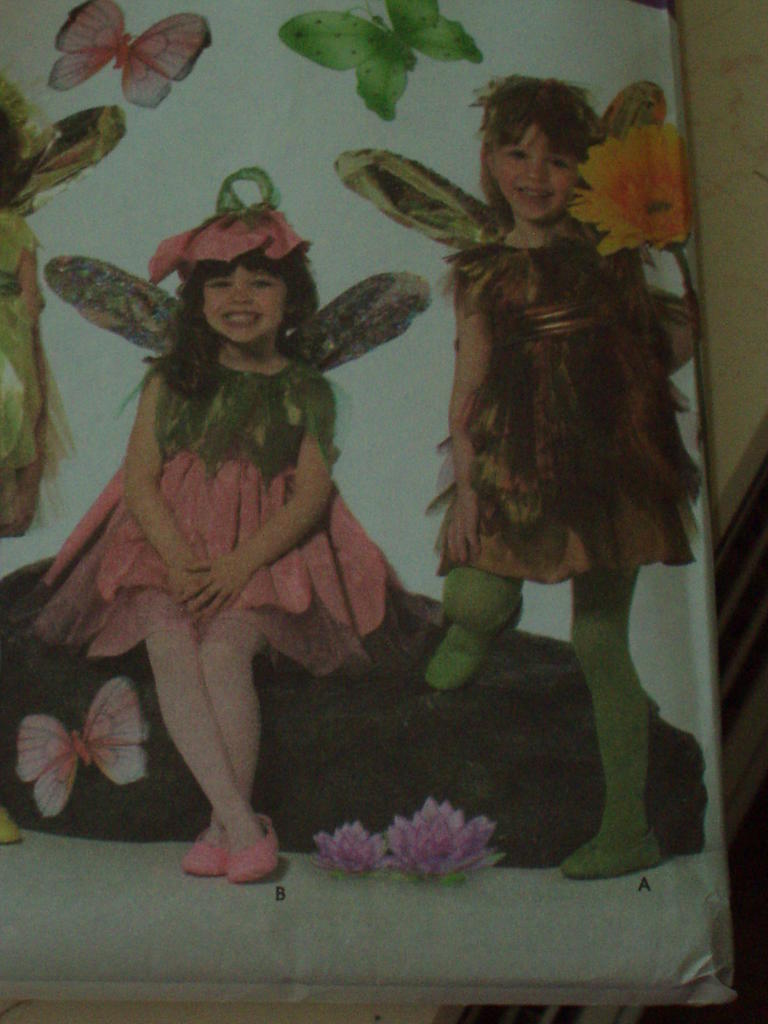
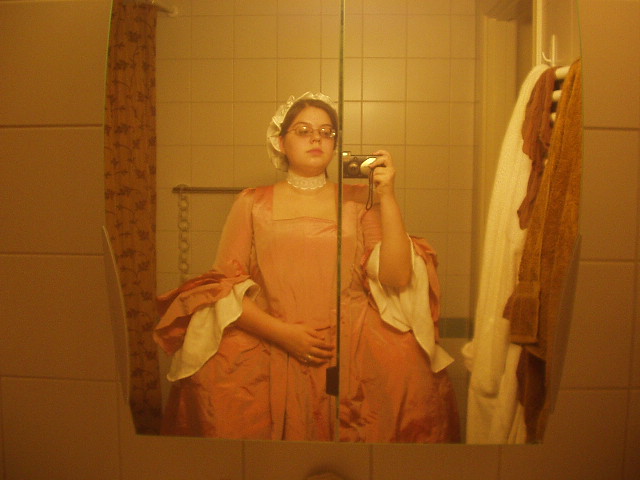
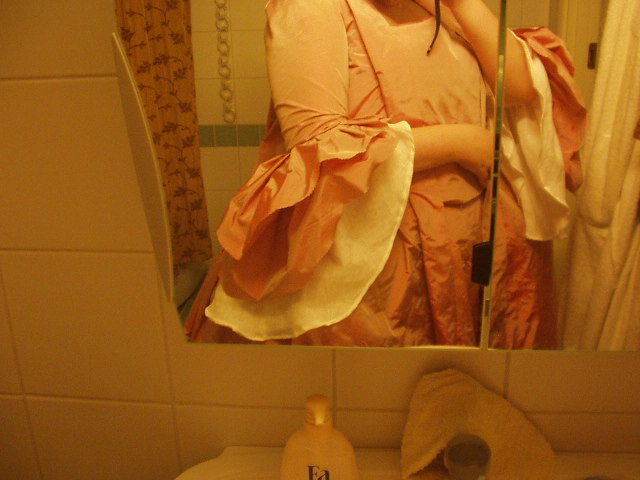
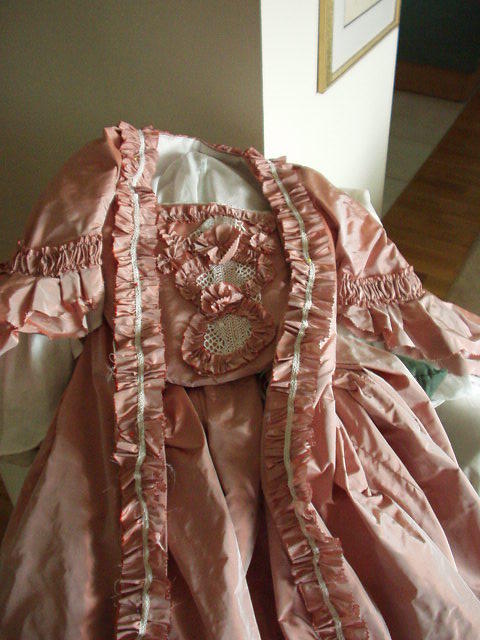
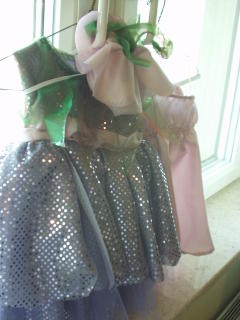 What happens when one has entirely too much time on one's hands?? You finish the project that was suppose to keep you entertained for the next month in one weekend. Wrapping paper wings still to come, though.
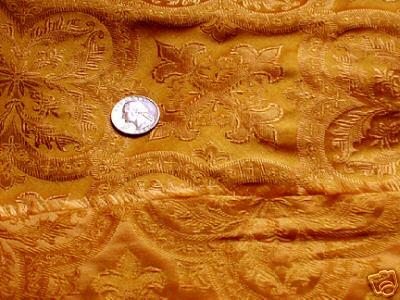
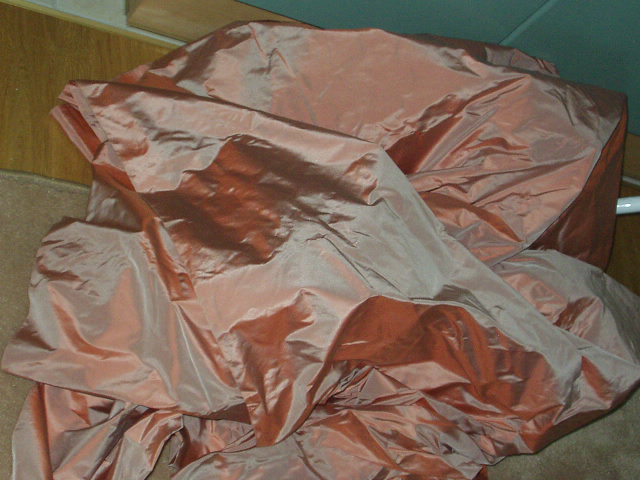
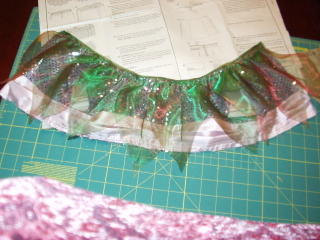 The nice pinkish fabric and the green organza would ravel if you looked at them funny. A lot of the edges in this costume were left raw and were not finished...which caused problems. I solved this by using fray check.
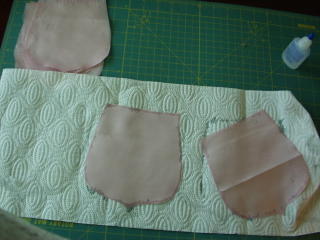


